

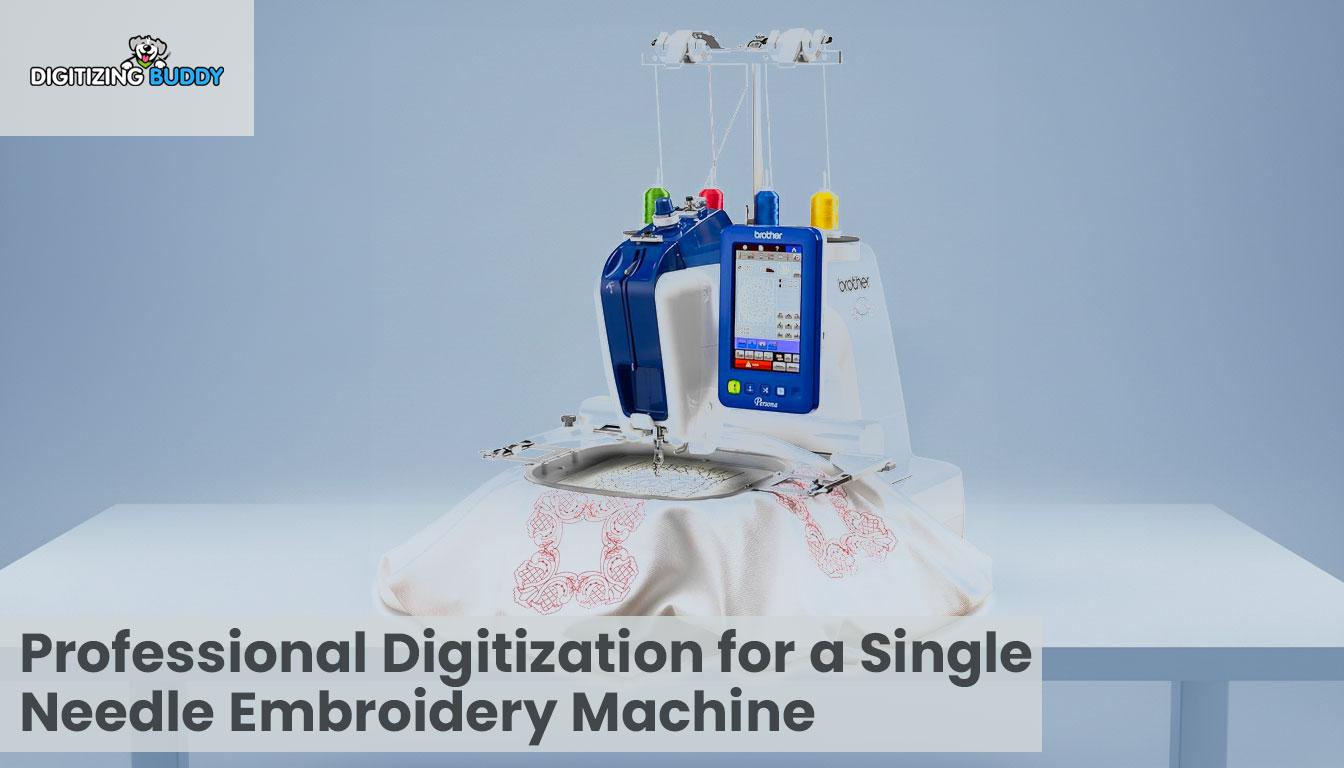
What You Need to Know Before Stitching on a Single Needle Machine
A single needle embroidery machine is simple and easy to use. It is great for small jobs, home work, and new users. But good results do not come by luck. You need to plan before you stitch. Small steps can make a big change in your final design.Many people think they can just load a file and press start. That is not true. You must prepare your design, your fabric, and your machine. One key part is Digitizing For A Single Needle Embroidery Machine, which helps your design stitch in a clean and smooth way.
In this guide, I will share what you need to know before you start stitching. These tips come from real work. They are simple and easy to follow. If you use them, your work will look neat and professional.
Why Preparation Is So Important
Preparation is the base of good embroidery.
What Happens Without Prep
If you skip prep:
-
Threads may break
-
Fabric may pull
-
Design may look messy
This wastes time and thread.
What Good Prep Does
Good prep helps you:
-
Get clean stitches
-
Save time
-
Avoid errors
It makes your work smooth.
Understanding Your Single Needle Machine
Before you stitch, know your machine well.
How It Works
A single needle machine uses one needle at a time. It stitches one color at a time. You must change threads by hand.
Key Parts to Know
Needle
It pushes thread into fabric.
Hoop
It holds fabric tight.
Bobbin
It holds the lower thread.
Thread Path
It guides the thread.
Knowing these parts helps you fix small issues fast.
Choosing the Right Design
Not all designs work well on single needle machines.
Keep It Simple
Simple designs stitch better.
Avoid
-
Too many small details
-
Tiny text
-
Very thin lines
Pick the Right Size
Size matters a lot.
Tips
-
Match design with hoop size
-
Do not shrink too much
Small designs can lose detail.
Use Clean Artwork
Start with a clear image.
Best Files
-
Vector files
-
High-quality PNG
Bad images lead to bad stitching.
The Role of Digitizing
Digitizing is the heart of embroidery.
What It Means
It turns your image into stitch data.
Why It Matters
Good digitizing:
-
Sets stitch type
-
Controls stitch path
-
Reduces thread breaks
Bad digitizing causes many problems.
Match Digitizing to Machine
Single needle machines need simple and clean stitch paths. This helps avoid too many stops.
Selecting the Right Thread
Thread choice affects your result.
Use Quality Thread
Good thread:
-
Does not break easily
-
Looks smooth
Cheap thread can ruin your design.
Match Thread Type
Use thread that fits your fabric.
Examples
-
Cotton for cotton fabric
-
Polyester for stretch fabric
Choose the Right Color
Pick colors that stand out. Avoid very close shades.
Picking the Right Needle
The needle is very important.
Use the Right Size
Different fabrics need different needles.
Examples
-
Light fabric: small needle
-
Thick fabric: strong needle
Change Needle Often
A dull needle can damage fabric. Change it after some use.
Preparing Your Fabric
Fabric must be ready before stitching.
Choose Stable Fabric
Stable fabric gives better results.
Good Choices
-
Cotton
-
Denim
Use Stabilizer
Stabilizer supports the fabric.
Types
-
Cut-away
-
Tear-away
-
Wash-away
Pick based on your fabric.
Hoop the Fabric Properly
Hooping must be tight.
Tips
-
No wrinkles
-
Fabric must be firm
Loose fabric causes poor stitching.
Setting Up Your Machine
A proper setup saves time.
Thread the Machine Correctly
Follow the thread path. One mistake can break the thread.
Check Tension
Good tension gives smooth stitches.
Too Tight
Thread may break.
Too Loose
Loops may form.
Test the Bobbin
Make sure it is full and set right.
Running a Test Stitch
Never skip testing.
Why Test Matters
It shows real results.
What to Check
-
Stitch quality
-
Thread breaks
-
Design shape
Fix Issues Early
It is easier to fix before full stitching.
Common Mistakes to Avoid
Avoid these mistakes for better results.
Skipping Digitizing Quality
Bad files give bad output.
Using Wrong Stabilizer
Wrong support can ruin fabric.
Poor Hooping
Loose hoop leads to shifting.
Ignoring Machine Care
A dirty machine can fail.
Real Tips from Experience
These tips come from real embroidery work.
Start Slow
Do not rush. Let the machine run at a steady speed.
Watch the First Run
Stay near the machine. Fix issues fast.
Keep Extra Supplies
Always have extra needles, thread, and bobbins.
Clean Your Machine
Dust and lint can build up. Clean often.
Best Stitching Practices
Follow these for clean results.
Use Simple Stitch Types
-
Satin stitch for text
-
Fill stitch for large areas
Control Stitch Density
Balanced density looks neat.
Plan Color Changes
Single needle machines need manual color change. Plan ahead.
How to Improve Over Time
Practice makes you better.
Learn from Each Job
Check what worked and what failed.
Try Small Projects First
Start with simple designs.
Upgrade Skills
Learn more about digitizing and machine setup.
Building Trust with Quality Work
Good work builds trust.
Why Quality Matters
-
Clients stay happy
-
You get repeat work
-
Your name grows
Stay Consistent
Do not rush. Keep your quality the same every time.
Final Thoughts
Stitching on a single needle machine is easy when you follow the right steps. You must prepare well. Start with a clean design. Use good digitizing. Pick the right thread, needle, and fabric.
Always test before full stitching. Fix small issues early. Keep your machine clean and well set.
From my own work, I have seen this many times. Good prep leads to great results. Bad prep leads to problems.
Take your time. Follow these tips. You will see your designs improve. Your stitching will look clean, sharp, and professional every time.