


Installing Shiplap Paneling for a Fresh, Finished Look
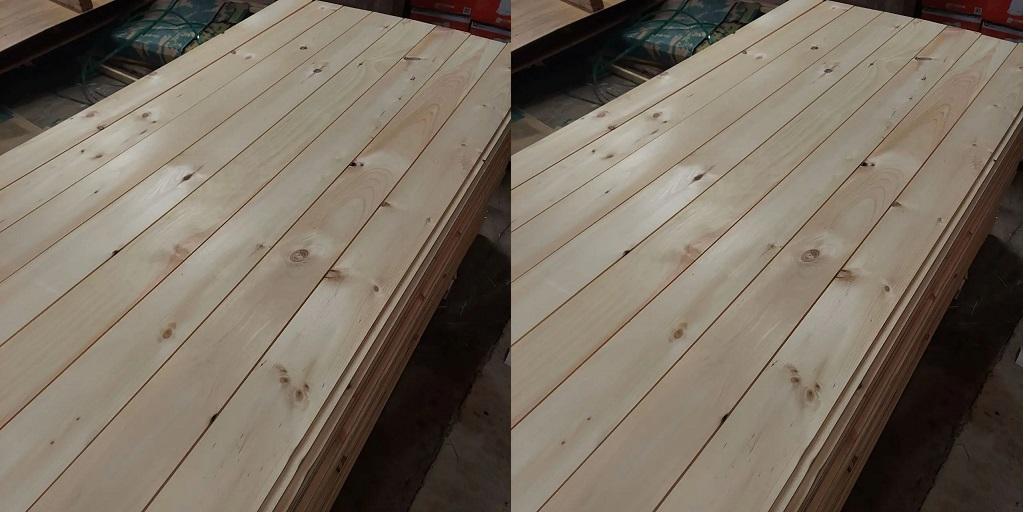
Adding shiplap to a wall or ceiling is a straightforward way to bring warmth, texture, and character into a room without taking on a major renovation. With the right boards, a few basic tools, and some careful measuring, you can create a polished finish that works in everything from a modern living room to a rustic cabin.
The secret is in the preparation. Rushing the measurements or starting with a crooked board can throw off the entire installation. Take your time at the beginning, and the rest of the project becomes much easier to manage.
Start by Choosing Your Boards
Before picking up a saw, decide what look you want to achieve. Shiplap is available in different widths, grades, and profiles, so consider how the boards will look in your space. Narrower boards create more visible lines across a wall, while wider boards offer a bolder, less busy appearance. Rustic grades bring natural knots and character, whereas cleaner boards can suit a more refined interior.
Empire Real Lumber offers several options to match different projects and design preferences. Its selection includes standard-grade boards in 6-inch and 8-inch widths, wider 10-inch industrial-grade boards, and cabin-grade fluting or shiplap for a more weathered appearance. Having these choices makes it easier to find lumber that suits your plans, whether you're updating one accent wall or covering a larger area.
Measure and Prepare the Surface
First, measure the height and width of the wall or ceiling you plan to cover. Use these measurements to estimate how many boards you'll need, allowing extra material for cuts, corners, and mistakes. Check the surface for uneven spots, loose material, and obstacles such as outlets or window trim.
For wall installations, locate the studs and mark their positions. A stud finder and pencil will help you keep track of where the boards can be securely fastened. If you're working on a surface that needs a moisture barrier or other protective layer, choose a suitable product based on the location and applicable building requirements. Bathrooms and other damp areas may require additional planning.
Make sure your boards are straight and in good condition before installation. Let them acclimate to the room according to the supplier's recommendations, particularly for interior projects where temperature and humidity can affect wood movement.
Install the First Board Carefully
The first board sets the direction for everything that follows, so don't guess at its position. Use a level or chalk line to establish a straight reference across the wall. Walls and ceilings aren't always perfectly square, which means the first board may need to be measured and cut to follow the surface neatly.
Cut the board to the required length with an appropriate saw, then position it along your guide. Check that it sits correctly before fastening it into the studs or other suitable framing. Use nails or screws appropriate for the wood, substrate, and installation method, following the board manufacturer's guidance.
Work Across the Wall
Once the first board is secure, continue along the wall, checking alignment as you go. Measure each cut rather than assuming every section is identical. For a more natural finish, you can stagger end joints where the layout allows, ensuring that board ends land on suitable framing or backing.
You'll probably need to cut around outlets, doors, windows, and corners. Measure these openings carefully and mark each cut on the board before using a jigsaw or another suitable tool. Turn off power at the breaker and consult a qualified electrician if electrical fittings need to be moved or modified.
Finish the Details
After all the boards are installed, inspect the surface for exposed fasteners, rough edges, and small gaps. Fill or finish these areas according to the look you're after and the product manufacturer's recommendations. Sand only where appropriate, then apply your chosen stain, paint, or protective finish. If you're painting knotty wood, remember that knots can sometimes show through, even after painting, unless the surface is properly prepared.
If you're ready to update a room, create a feature ceiling, or add texture to a wall, explore the shiplap options available from Empire Real Lumber. Choose the profile and grade that fit your vision, then contact the team to discuss your lumber needs and get your project moving.
For more information about Tongue And Groove Boards and Pine Lumber Please visit: Empire Real Lumber.

 English
 Arabic
 French
 Spanish
 Portuguese
 Deutsch
 Dutch
 Italiano
 Russian
 Romaian
 Portuguese (Brazil)
 Greek