

How to Make a Vlog With an Action Camera: Beginner’s Guide
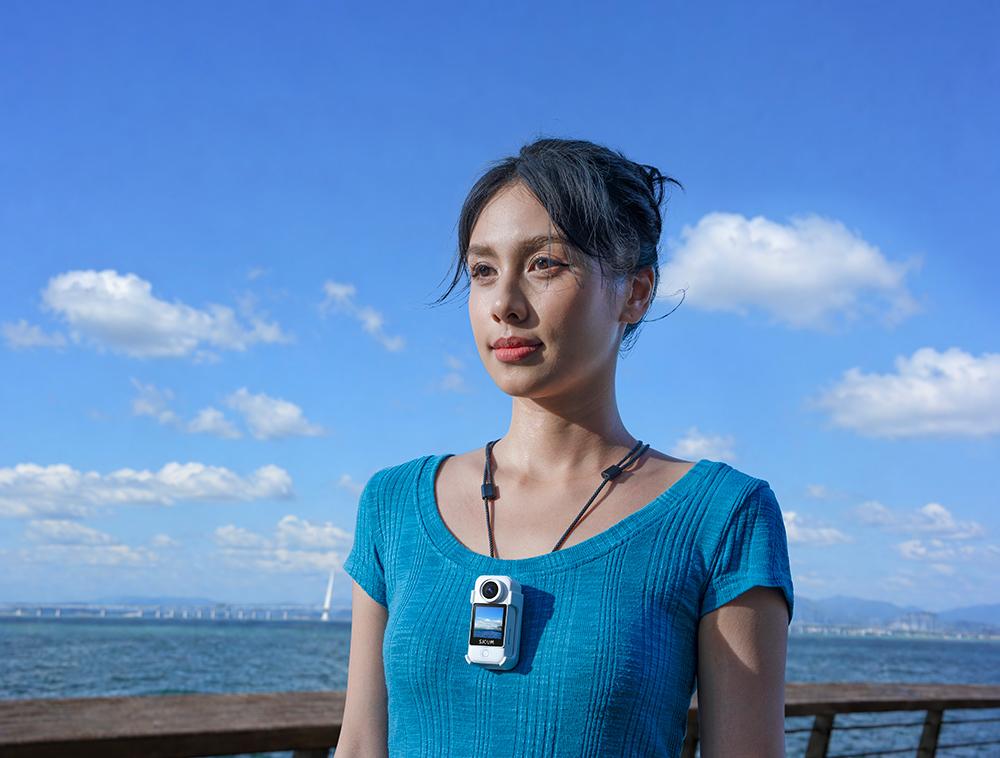
Action Cameras have changed the way people document their adventures. Small, rugged, and capable of capturing smooth, high-quality footage in challenging conditions, they are an excellent choice for anyone who wants to start vlogging. Whether you are hiking a mountain trail, exploring a new city, or surfing your first wave, an action camera can serve as a reliable and portable travel camera. This beginner’s guide will walk you through everything you need to know to make a vlog with an action camera—from planning and gear to shooting, editing, and publishing.
Why Use an Action Camera for Vlogging?
Before diving into the technical steps, it helps to understand why action cameras are so popular among vloggers. Traditional vlogging setups often involve bulky mirrorless cameras, external microphones, and tripods. An action camera, by contrast, is compact, waterproof, and designed to be mounted almost anywhere. For travelers, this means you can capture immersive point-of-view shots, time-lapses, and action sequences without carrying heavy equipment. Many modern action cameras also double as a convenient travel camera for everyday moments, making them a versatile addition to your kit.
That said, action cameras have limitations—especially in low light and audio quality. The key is to work with their strengths and compensate for their weaknesses. Below is a step-by-step beginner’s guide to doing exactly that.
Step 1: Plan Your Vlog Concept and Story
A vlog is more than a random collection of clips. Before you start filming, decide what your video is about. Are you documenting a day hike? Reviewing a travel camera? Sharing tips for budget travel? A clear concept helps you choose the right shots and keeps your audience engaged.
Create a simple outline: an introduction, three to five main segments, and a conclusion. For travel vlogs, think about the journey: arrival, key activities, challenges, and highlights. Even a loose plan will make your footage easier to edit and your story more coherent.
Step 2: Choose the Right Action Camera and Accessories
Not all action cameras are created equal. Look for models with good image stabilization, 4K video, decent low-light performance, and reliable audio. If you plan to use your action camera as a travel camera, prioritize portability, battery life, and ease of use.
Essential accessories for vlogging include:
- A chest or head mount for hands-free point-of-view footage.
- A floating hand grip for water activities.
- A mini tripod or selfie stick for talking-head segments.
- Extra batteries and memory cards—action cameras drain power quickly.
- A wind muff or external microphone adapter to improve audio.
- A protective case and lens cloth to keep your gear safe and clean.
Step 3: Master the Settings
Action cameras often come with preset modes, but taking a few minutes to adjust settings can dramatically improve your vlog. For beginners, start with these recommendations:
- Resolution and frame rate: Shoot in 4K at 30fps for general vlogging, or 1080p at 60fps if you want smoother slow-motion options and smaller files.
- Stabilization: Enable in-camera stabilization or use a gimbal for smoother walking shots.
- Field of view: Use a linear or medium setting to reduce the fisheye distortion that can make footage look unprofessional.
- Exposure: Lock exposure when lighting is consistent, or use auto exposure for changing conditions.
- White balance: Set it manually for consistent colors, especially indoors or under mixed lighting.
Step 4: Shoot Engaging Footage
Variety is the spice of vlogging. Mix wide establishing shots with close-ups, talking-head segments, and action POVs. When filming with an action camera, keep these tips in mind:
- Stabilize your shots: Use a mount or hold the camera with both hands. Walk smoothly.
- Watch your framing: Action cameras have wide lenses, so get close to your subject for talking-head shots.
- Capture B-roll: Film details—feet walking, hands adjusting gear, scenery, food—to use as cutaways in editing.
- Record audio separately if possible: Action camera microphones are prone to wind noise. A lavalier microphone or a voiceover recorded later can save your vlog.
Step 5: Prioritize Audio
Poor audio is the fastest way to lose viewers. If your action camera has a built-in microphone, use a wind muff and speak clearly toward the camera. Better yet, invest in an external microphone adapter or record a voiceover during editing. For travel vlogs, ambient sound—waves, city noise, birds—can add atmosphere, but your voice should always be intelligible.
Step 6: Edit Your Vlog
Editing transforms raw clips into a story. Use beginner-friendly software like CapCut, iMovie, or DaVinci Resolve. Start by organizing your footage, then build a timeline with an introduction, main segments, and conclusion. Keep cuts tight, add background music that fits the mood, and include captions for accessibility. Color grading can unify footage shot in different lighting conditions. Remember, a travel camera action vlog should feel dynamic—use speed ramps, transitions, and B-roll to maintain energy.
Step 7: Publish and Promote
Export your video in 1080p or 4K and upload it to YouTube or social media. Write a clear, keyword-rich title and description—for example, “How to Make a Vlog With an Action Camera: Beginner’s Guide.” Use relevant tags such as travel camera, action camera vlog, and beginner vlogging tips. Create an eye-catching thumbnail with readable text. Share your video in travel communities and respond to comments to build an audience.
Final Tips for Beginners
- Practice before your big trip. Test your setup at home so you are comfortable with the settings.
- Carry spare batteries and memory cards. Action cameras are power-hungry.
- Back up footage daily. Use a portable hard drive or cloud storage.
- Focus on storytelling, not gear. Your travel camera is a tool; the story is what matters.
- Be consistent. Publish regularly and learn from each video.
Making a vlog with an action camera is an accessible and rewarding way to share your adventures. With a clear plan, the right accessories, solid settings, and attention to audio and editing, you can produce engaging content that stands out. Whether you are using your action camera as a dedicated vlog tool or a versatile travel camera, the key is to start filming, review your footage, and keep improving.

 English
 Arabic
 Spanish
 Portuguese
 Deutsch
 Turkish
 Dutch
 Italiano
 Russian
 Romaian
 Portuguese (Brazil)
 Greek